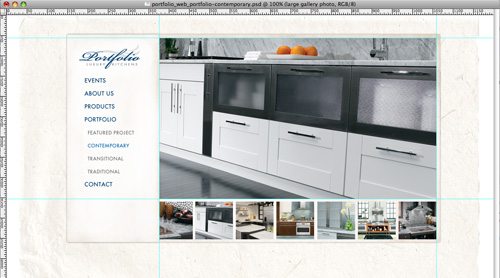
There were a total of 35 images for the main galleries that had the same dimensions, and a thumbnail for each. Cropping each image and thumbnail, or masking them individually would have taken hours. The solution was to put all the photos layers in a group and mask the group. This way the images can be moved around individually inside the mask for the prefect layout and the dimensions will stay exactly the same when copied out.
Here is how it’s done.
Open the PSD of your design, and start by snapping guides to the size you need.
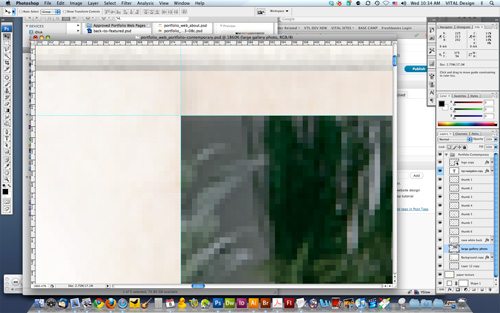
Vital Tip – Zooming in and holding shift while dragging guides, will snap the guides to exact pixels.
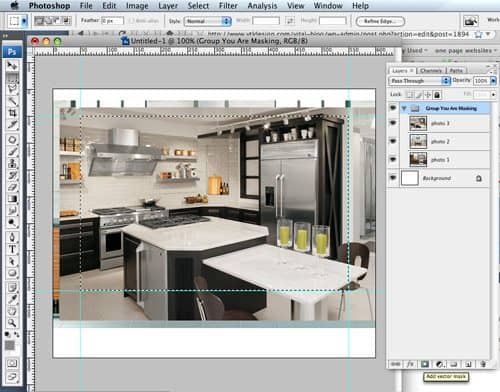
Next, add your photos to individual layers and make a group of those layers. They can be moved around later for composition. Now, making sure you are on the layer of the group, use the marquee tool to select the area you want to have masked. Click the “Add vector mask” icon in the footer of the layers pallet.
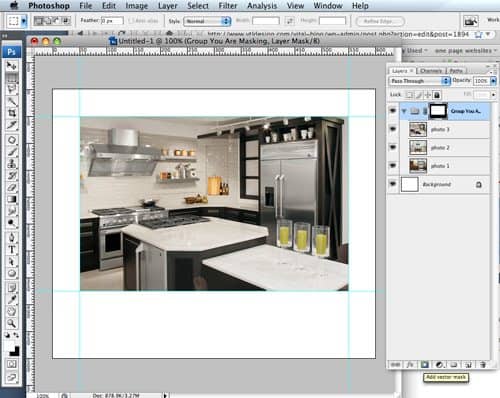
Now you will see that you have masked the whole group of layers. If needed, you can select the individual layers to position them correctly.
Keyboard Shortcuts to Quickly Copy and Paste Your Images
Use the marquee tool to select the area you have masked.
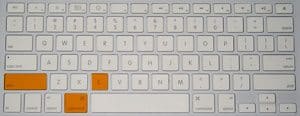
You can easily copy each layer (shift, command, C).
Vital Tip – Using “copy merged” opens your new window at the correct size.
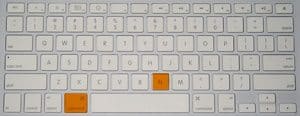
Open a new window (command, N).
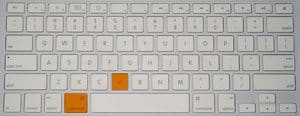
Paste the image (command, V).
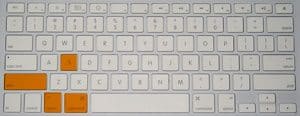
and save it for web (shift, option, command, S).
As you go back to your original PSD, leave the marquee in place, turn off the next layer and repeat these steps.
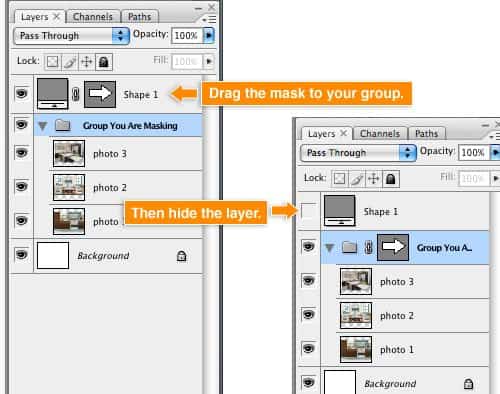
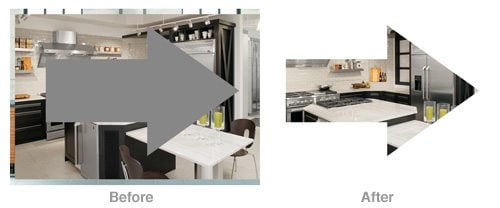
This is really handy for rounded corners and custom shapes too. You can simply drag the mask from any shape to the layer or group of layers you want masked. And the best part is that if you hate it you can just change or remove the mask and you original image is intact!
Have fun and feel free to post questions in the comments below.
